-
01/21/2026
- 0 Комментарий
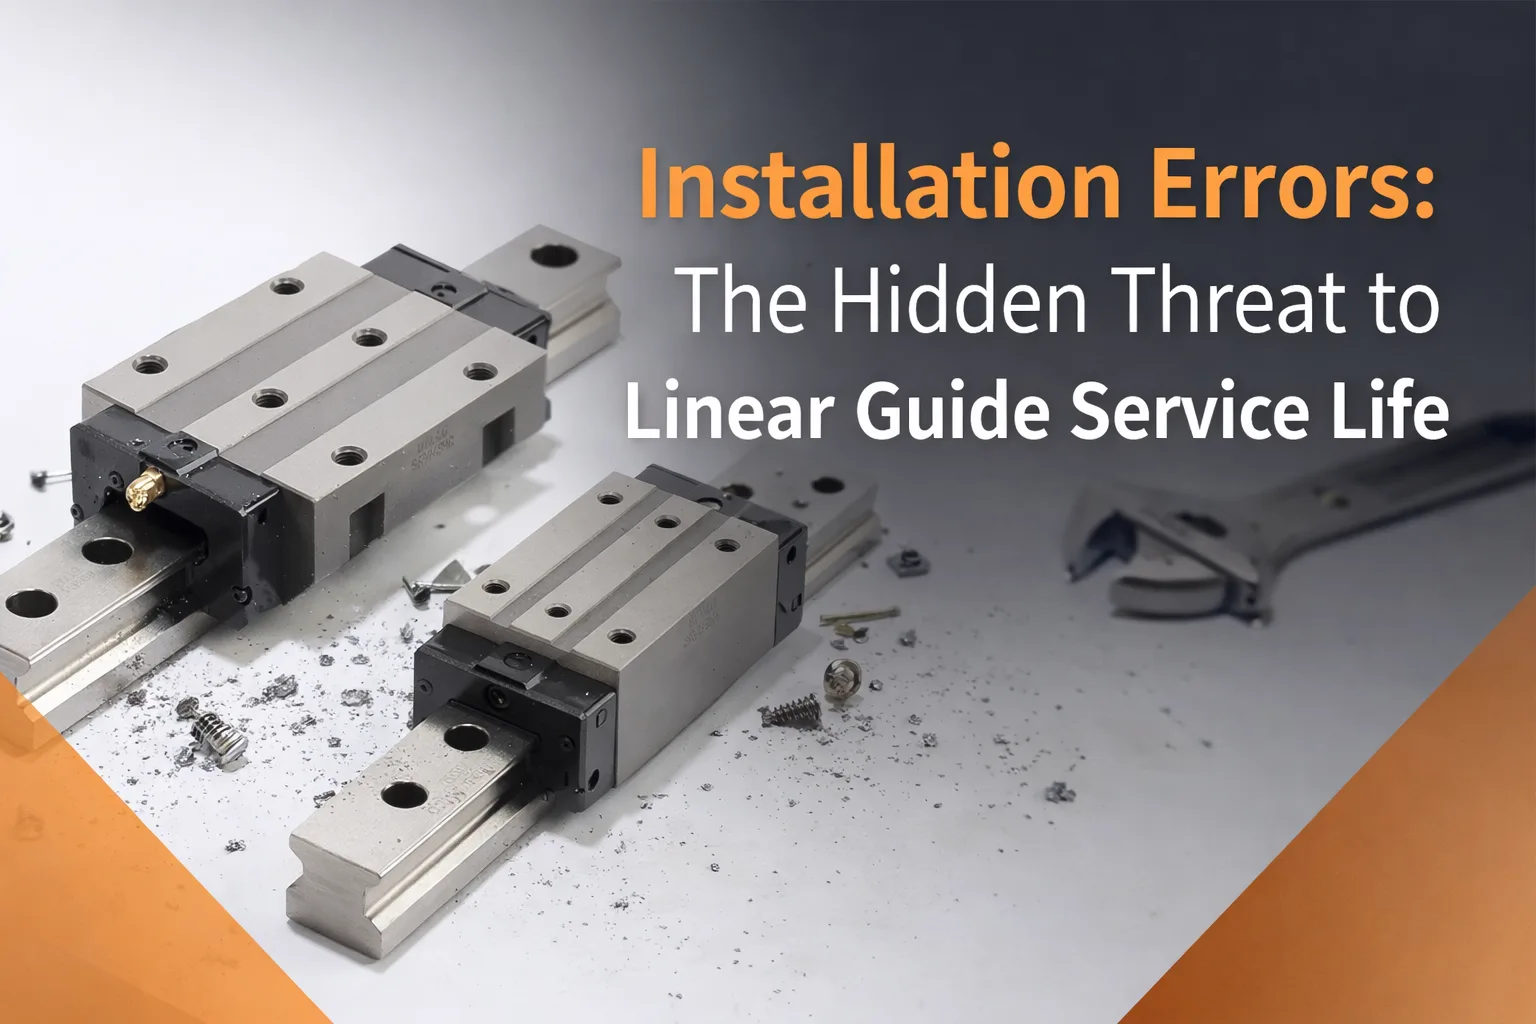
Ошибки при установке: скрытая угроза сроку службы линейных направляющих
Mục lục
As a professional mechanical assembly engineer, I have witnessed countless cases where linear guides—critical components ensuring precision motion in industrial equipment—fail prematurely not due to poor product quality, but improper installation. Linear guides and bearings rely on ultra-precise contact between rolling elements (balls or rollers) and raceways to deliver low friction, high rigidity, and long service life. Even micron-level installation errors can disrupt this balance, triggering a chain reaction of mechanical stress, wear, and ultimately, catastrophic failure. Below, I will break down how common installation errors degrade guide life, supported by engineering principles and on-site experience.
Installation Error Type | Key Impacts on Linear Guide Life | Mitigation Methods |
|---|---|---|
Base Surface Flatness Error | Local overloading, contact fatigue cracks, increased sliding friction, adhesive wear | Check flatness with straightedge/feeler gauge; grind/mill base to correct errors if needed |
Parallelism Error (Dual-Rail) | Carriage skewing, edge loading, scuffing, cage damage, inconsistent motion accuracy | Use laser interferometer for measurement; adjust with shims (0.005-0.05mm) to correct |
Improper Bolt Tightening | Over-tightening: rail deformation, accelerated fatigue; Under-tightening: micro-movement, impact loads, cage breakage | Use calibrated torque wrench; follow manufacturer’s specs and cross-tightening sequence |
Contamination During Installation | Abrasive wear, raceway scratches, lubricant degradation | Clean surfaces with industrial alcohol; use lint-free cloths; avoid bare hand contact with raceway |
The Core Principle: Why Installation Precision Determines Guide Life
Linear guide manufacturers design their products based on the “ideal contact condition”: the raceway surface maintains uniform load distribution, and rolling elements move without sliding or skewing. Under this condition, the guide operates within its rated dynamic load (C) and static load (C₀), achieving the projected service life (L₁₀ = (C/P)³ × 10⁶ revolutions, per ISO standards).
Installation errors this ideal state by introducing uneven stress, abnormal friction, and micro-impacts. These issues do not manifest immediately; instead, they accumulate over cycles, accelerating material fatigue and wear. For example, a 0.1mm parallelism error can increase local contact stress by 30%—cutting the guide’s service life by half or more, according to our team’s field test data.
Common Installation Errors and Their Impact on Guide Life
Base Surface Flatness Error
- Local Overloading: When tightening the guide’s mounting bolts, the uneven base forces the guide’s rail to deform. This creates “high-stress points” where the rolling elements bear excessive load—far beyond the design limit. Over time, these points develop contact fatigue cracks (visible as small pits on the raceway), which spread and cause the guide to seize.
- Increased Friction: Deformed rails force rolling elements to slide (rather than roll) against the raceway, generating sliding friction (up to 10x higher than rolling friction). This not only raises operating temperature (accelerating lubricant degradation) but also causes adhesive wear (metal transfer between rolling elements and raceways), a leading cause of premature guide failure.
Parallelism Error Between Two Rails (Dual-Rail Systems)
- Skewing of the Carriage: The carriage (which connects the two rails) is forced to tilt, making the rolling elements contact the raceway edges instead of the center. This edge loading concentrates stress on the rail’s shoulders, leading to rapid wear and even chipping of the raceway.
- Torque on Rolling Elements: Skewing introduces a rotational torque on the carriage, causing rolling elements to spin at an angle. This creates scuffing (long, shallow scratches on the raceway) and increases the risk of cage damage (the component that separates rolling elements). Once the cage breaks, rolling elements collide with each other, destroying the guide in hours.
- Inconsistent Motion Accuracy: Even if the guide does not fail immediately, parallelism errors lead to “stick-slip” motion, which damages the workpiece (e.g., uneven cutting in machining) and puts additional stress on the guide over time.
Improper Bolt Tightening (Over-Tightening or Under-Tightening)
- Over-Tightening: Excessive torque (beyond the manufacturer’s specification, e.g., 12 N·m for M6 bolts) causes the rail to compress and deform along the bolt axis. This creates a “wave-like” distortion in the raceway, where rolling elements encounter periodic high-stress zones. Our tests show that over-tightening by 20% reduces guide life by 40% due to accelerated fatigue.
- Under-Tightening: Loose bolts allow the rail to shift slightly during operation. This micro-movement between the rail and base generates impact loads (especially during rapid acceleration/deceleration), which crack the raceway and loosen the rolling element cages. In one case, a conveyor system’s guide failed after 3 months because bolts were tightened to only 50% of the recommended torque—resulting in rail displacement and cage breakage.
Contamination During Installation
- Абразивный износ: Частицы пыли или металлическая стружка, попавшие между телами качения и дорожкой качения, действуют как абразив, царапая поверхность дорожки. Эти царапины углубляются с каждым циклом, снижая несущую способность направляющей и создавая концентрации напряжений, ведущие к образованию трещин.
- Деградация смазочного материала: Загрязнения смешиваются с исходной смазкой (нанесённой при установке), превращая её в “шлифовальную пасту”, которая ускоряет износ. Даже небольшое количество металлической стружки может снизить эффективность смазки на 60% в течение месяца.
Как снизить монтажные ошибки и продлить срок службы направляющих
- Предмонтажная проверка:
- Проверьте плоскостность базовой поверхности с помощью поверочной линейки и щупа (или профилометра для высокоточных применений). Если отклонение превышает спецификации, отшлифуйте или отфрезеруйте базу для его устранения.
- Проверьте состояние направляющей рейки: осмотрите на наличие царапин, вмятин или ржавчины (часто возникающих при хранении). При обнаружении повреждений немедленно замените рейку (даже небольшие вмятины вызывают концентрацию напряжений).
- Прецизионная юстировка:
- Для систем с одной рейкой: используйте индикатор часового типа для совмещения рейки с осью движения (допуск биения ≤ 0,01 мм/м).
- Для систем с двумя рейками: используйте лазерный интерферометр для измерения параллельности, тангажа и рыскания. Корректируйте отклонения с помощью прокладок (тонких металлических пластин) под рейкой (толщина прокладок для точной настройки должна составлять 0,005–0,05 мм).
- Контролируемое затягивание болтов:
- Строго соблюдайте точно. момент затяжки, указанный производителем. Используйте динамометрический ключ с сертификатом калибровки (калибруйте каждые 6 месяцев для обеспечения точности).
- Затягивайте болты крест-накрест (например, для рейки с 4 болтами: 1 → 3 → 2 → 4) для равномерного распределения давления. После первоначальной затяжки выждите 10 минут, затем произведите повторную затяжку для устранения “осадки” рейки.
- После монтажные испытания:
- Вручную переместите каретку вдоль рейки: движение должно быть плавным, без сопротивления или щелчков (щелчки указывают на краевую нагрузку или повреждение сепаратора).
- Используйте индикатор часового типа для измерения биения каретки (вертикальное и горизонтальное биение ≤ 0,005 мм для прецизионных направляющих).
- Нанесите правильную смазку (пластичную для низких скоростей, жидкую для высокоскоростных применений) и удалите излишки (избыток смазки удерживает загрязнения).