-
01/21/2026
- 0 Commento
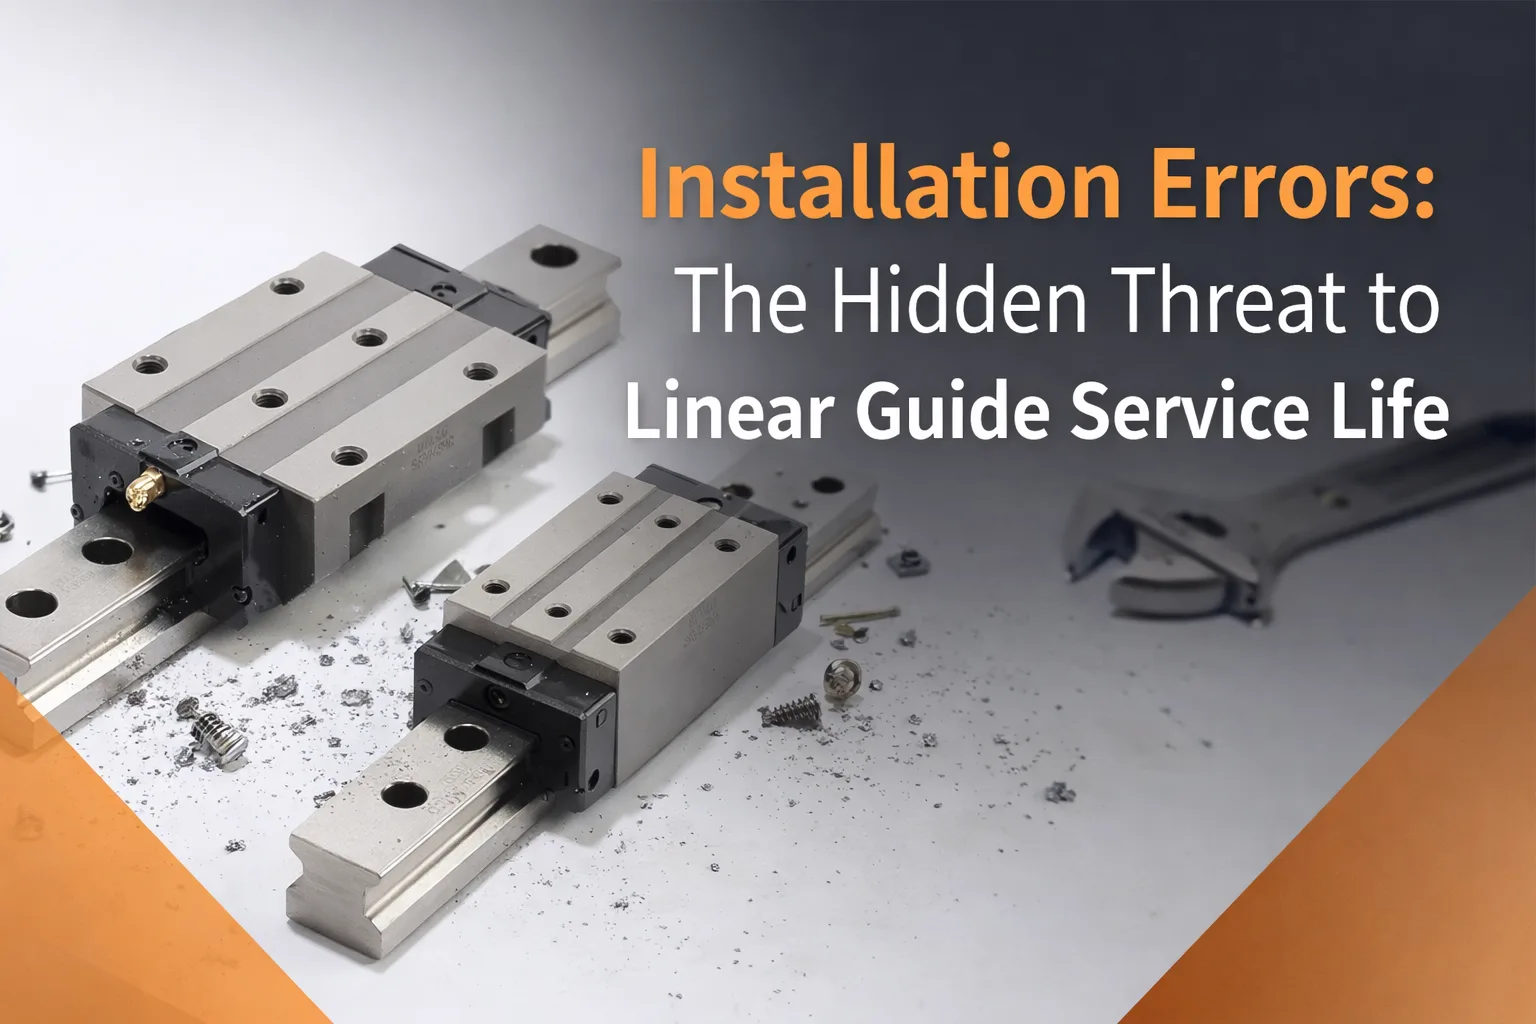
Errori di Installazione: La Minaccia Nascosta alla Durata di Servizio delle Guide Lineari
Indice dei contenuti
作为一名专业机械装配工程师,我目睹过无数案例,其中直线导轨——确保工业设备精密运动的关键部件——过早失效并非由于产品质量不佳,而是安装不当。直线导轨和轴承依靠滚动体(滚珠或滚柱)与滚道之间的超精密接触,以实现低摩擦、高刚性和长使用寿命。即使是微米级的安装误差也会破坏这种平衡,引发机械应力、磨损的连锁反应,并最终导致灾难性故障。下面,我将根据工程原理和现场经验,详细分析常见安装误差如何缩短导轨寿命。.
安装误差类型 | 对直线导轨寿命的关键影响 | 缓解方法 |
|---|---|---|
基座表面平面度误差 | 局部过载、接触疲劳裂纹、滑动摩擦增加、粘着磨损 | 用直尺/塞尺检查平面度;必要时通过磨削/铣削基座来修正误差 |
平行度误差(双导轨) | 滑块偏斜、边缘加载、刮伤、保持架损坏、运动精度不一致 | 使用激光干涉仪进行测量;使用垫片(0.005-0.05mm)进行调整以修正 |
螺栓拧紧不当 | 过紧:导轨变形,加速疲劳;过松:微动、冲击载荷、保持架断裂 | 使用校准过的扭矩扳手;遵循制造商规格和交叉拧紧顺序 |
安装过程中的污染 | 磨粒磨损、滚道划伤、润滑剂劣化 | 用工业酒精清洁表面;使用无绒布;避免裸手接触滚道 |
核心原理:为何安装精度决定导轨寿命
直线导轨制造商基于“理想接触条件”设计其产品:滚道表面保持均匀载荷分布,滚动体无滑动或偏斜地运动。在此条件下,导轨在其额定动载荷(C)和静载荷(C₀)范围内运行,达到预期使用寿命(L₁₀ = (C/P)³ × 10⁶ 转,依据ISO标准)。.
安装误差通过引入不均匀应力、异常摩擦和微冲击来破坏这种理想状态。这些问题不会立即显现;相反,它们会在循环中累积,加速材料疲劳和磨损。例如,根据我们团队的现场测试数据,0.1mm的平行度误差可使局部接触应力增加30%——将导轨的使用寿命减半或更多。.
常见安装误差及其对导轨寿命的影响
基座表面平面度误差
基座(例如,机床床身、直线模组框架)是导轨安装的基础。如果基座表面存在不平度(例如,翘曲、凹陷)且超出导轨的公差(对于精密导轨,通常为0.02-0.05mm/m),则会出现两个关键问题:
- 局部过载:当拧紧导轨的安装螺栓时,不平整的基座迫使导轨变形。这会产生“高应力点”,在这些点上滚动体承受远超设计极限的过大载荷。随着时间的推移,这些点会发展出 接触疲劳裂纹 (表现为滚道上的微小凹坑),这些裂纹扩展并导致导轨卡死。.
- 摩擦增加:变形的导轨迫使滚动体在滚道上滑动(而非滚动),产生 滑动摩擦 (可达滚动摩擦的10倍)。这不仅会提高工作温度(加速润滑剂劣化),还会导致 粘着磨损 (滚动体与滚道之间的金属转移),这是导轨过早失效的主要原因之一。.
案例:我们维修过的一台CNC雕刻机在运行6个月后出现导轨卡死(预期寿命为5年)。检查发现基座存在0.2mm/m的平面度误差;导轨产生了0.15mm的弯曲,滚道显示出严重的粘着磨损。.
两导轨之间的平行度误差(双导轨系统)
大多数重载或高精度应用使用双导轨(例如,龙门式机床、机械臂)。平行度误差(即,两个导轨沿运动轴线未对齐)会导致三个致命问题:
- 滑块偏斜:滑块(连接两个导轨的部件)被迫倾斜,使得滚动体接触滚道边缘而非中心。这种 边缘加载 将应力集中在导轨的肩部,导致快速磨损甚至滚道崩裂。.
- 滚动体上的扭矩:偏斜在滑块上引入旋转扭矩,导致滚动体以一定角度旋转。这会产生 刮伤 (滚道上长而浅的划痕)并增加 保持架损坏 (分隔滚动体的部件)的风险。一旦保持架断裂,滚动体会相互碰撞,在数小时内毁坏导轨。.
- 运动精度不一致:即使导轨没有立即失效,平行度误差也会导致“粘滑”运动,这会损坏工件(例如,加工中的不均匀切削)并随时间推移给导轨带来额外应力。.
工程提示:对于双导轨系统,使用激光干涉仪测量平行度;对于精密应用,误差不应超过0.01mm/m。.
螺栓拧紧不当(过紧或过松)
安装螺栓不仅仅是“紧固件”——它们确保导轨牢固地固定在基座上而不变形。过紧和过松同样具有破坏性:
- 过紧:过大的扭矩(超出制造商规格,例如,M6螺栓为12 N·m)会导致导轨沿螺栓轴线 压缩和变形 。这会在滚道中产生“波浪状”扭曲,滚动体会遇到周期性高应力区域。我们的测试表明,过紧20%会因加速疲劳而使导轨寿命减少40%。.
- 过松:松动的螺栓允许导轨在运行过程中轻微移动。导轨与基座之间的这种 微动 会产生 冲击载荷 (尤其是在快速加速/减速期间),这会开裂滚道并松动滚动体保持架。在一个案例中,一个输送系统的导轨在3个月后失效,因为螺栓仅拧紧到推荐扭矩的50%——导致导轨位移和保持架断裂。.
最佳实践:使用校准至制造商规格(例如,THK、HIWIN提供详细的扭矩表)的扭矩扳手,并遵循“交叉拧紧顺序”以确保均匀压力。.
安装过程中的污染
虽然不属于“尺寸误差”,但安装过程中的污染(例如,灰尘、金属屑、油污)是导轨寿命的无声杀手。原因如下:
- Usura Abrasiva: Le particelle di polvere o i trucioli metallici intrappolati tra gli elementi volventi e la pista di scorrimento agiscono come abrasivi, graffiando la superficie della pista. Questi graffi si approfondiscono ad ogni ciclo, riducendo la capacità di carico della guida e creando concentrazioni di sollecitazione che portano a crepe.
- Degradazione del Lubrificante: I contaminanti si mescolano con il lubrificante iniziale (applicato durante l'installazione), trasformandolo in una “pasta abrasiva” che accelera l'usura. Anche una piccola quantità di trucioli metallici può ridurre l'efficacia del lubrificante del 60% entro un mese.
Protocollo in Sito: Pulire sempre la superficie di base, la guida lineare e i bulloni con alcol di grado industriale prima dell'installazione. Utilizzare panni senza lanugine ed evitare di toccare la pista di scorrimento con le mani nude (l'olio della pelle provoca il deterioramento del lubrificante).
Come Mitigare gli Errori di Installazione e Prolungare la Vita della Guida
Come ingegneri di assemblaggio, il nostro obiettivo è eliminare gli errori alla fonte. Ecco il flusso di lavoro passo-passo che utilizziamo nei nostri progetti:
- Ispezione Pre-Installazione:
- Controllare la planarità della superficie di base con una riga e un calibro a spessore (o un tester di rugosità superficiale per applicazioni ad alta precisione). Se l'errore supera le specifiche, rettificare o fresare la base per correggerlo.
- Verificare le condizioni della guida lineare: ispezionare graffi, ammaccature o ruggine (comuni durante lo stoccaggio). Se danneggiata, sostituire immediatamente la guida (anche piccole ammaccature causano concentrazioni di sollecitazione).
- Allineamento di Precisione:
- Per sistemi a guida singola: Utilizzare un comparatore per allineare la guida con l'asse di movimento (tolleranza di oscillazione ≤ 0,01 mm/m).
- Per sistemi a doppia guida: Utilizzare un interferometro laser per misurare parallelismo, passo e imbardata. Regolare le lamelle (sottili lamine metalliche) sotto la guida per correggere gli errori (lo spessore della lamella deve essere 0,005-0,05 mm per la messa a punto fine).
- Serraggio Controllato dei Bulloni:
- Seguire esattamente le specifiche di coppia del produttore. esattamente. Utilizzare una chiave dinamometrica con certificato di taratura (tarare ogni 6 mesi per garantire precisione).
- Serrare i bulloni a croce (ad esempio, per una guida a 4 bulloni: 1 → 3 → 2 → 4) per distribuire uniformemente la pressione. Attendere 10 minuti dopo il serraggio iniziale, quindi riserrare per eliminare l“”assestamento" della guida.
- Test Post-Installazione:
- Muovere manualmente il carrello lungo la guida: dovrebbe muoversi senza resistenza o rumori di scatto (lo scatto indica carico sul bordo o danneggiamento della gabbia).
- Utilizzare un comparatore per misurare l'oscillazione del carrello (oscillazione verticale e orizzontale ≤ 0,005 mm per guide di precisione).
- Applicare il lubrificante corretto (grassi per basse velocità, olio per applicazioni ad alta velocità) e rimuovere l'eccesso (troppo lubrificante intrappola i contaminanti).
Conclusione
La vita della guida lineare non è determinata solo dal prodotto, ma è il risultato diretto della qualità dell'installazione. Come ingegneri di assemblaggio meccanico, abbiamo la chiave per massimizzare le prestazioni della guida: eliminando gli errori di planarità, parallelismo e serraggio dei bulloni, e prevenendo la contaminazione, possiamo garantire che le guide operino entro i limiti di progettazione, raggiungendo o addirittura superando la loro vita utile prevista.
Il costo per correggere gli errori di installazione è irrisorio rispetto al costo dei tempi di fermo non pianificati (ad esempio, un'interruzione di una macchina CNC costa $500-$2.000 all'ora). Investendo tempo nell'allineamento di precisione, nel serraggio controllato e in un'ispezione approfondita, non solo prolunghiamo la vita della guida, ma miglioriamo anche l'affidabilità complessiva e l'efficienza delle apparecchiature che costruiamo.