-
01/21/2026
- 0 Commentaire
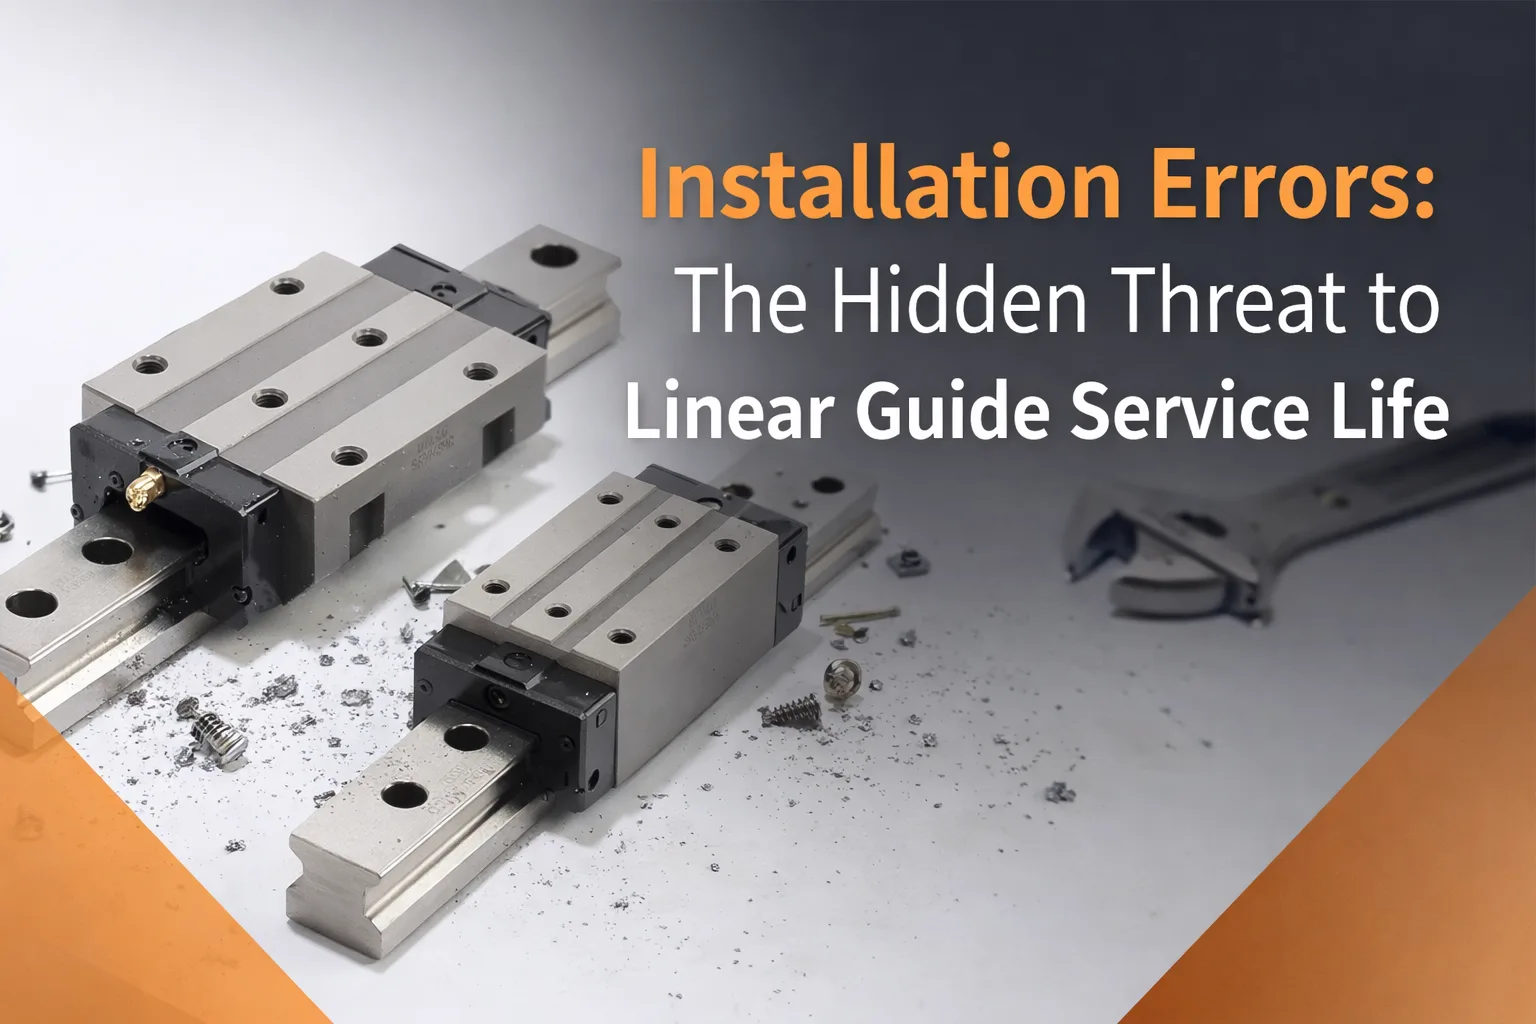
Erreurs d'Installation : La Menace Cachée pour la Durée de Vie des Guides Linéaires
Table des matières
En tant qu'ingénieur professionnel en assemblage mécanique, j'ai été témoin d'innombrables cas où des guides linéaires—composants essentiels garantissant la précision des mouvements dans les équipements industriels—défaillent prématurément non pas en raison d'une mauvaise qualité du produit, mais d'une installation incorrecte. Les guides et roulements linéaires reposent sur un contact ultra-précis entre les éléments roulants (billes ou rouleaux) et les chemins de roulement pour offrir un faible frottement, une rigidité élevée et une longue durée de vie. Même des erreurs d'installation de l'ordre du micron peuvent perturber cet équilibre, déclenchant une réaction en chaîne de contraintes mécaniques, d'usure et, finalement, une défaillance catastrophique. Ci-dessous, je détaillerai comment les erreurs d'installation courantes dégradent la durée de vie des guides, étayé par des principes d'ingénierie et une expérience de terrain.
Type d'erreur d'installation | Impacts clés sur la durée de vie du guide linéaire | Méthodes d'atténuation |
|---|---|---|
Erreur de planéité de la surface de base | Surcharge locale, fissures de fatigue de contact, augmentation du frottement de glissement, usure adhésive | Vérifier la planéité avec une règle droite/un calibre d'épaisseur ; rectifier/fraiser la surface de base pour corriger les erreurs si nécessaire |
Erreur de parallélisme (double rail) | Inclinaison du chariot, charge en bordure, éraflure, endommagement de la cage, imprécision de mouvement incohérente | Utiliser un interféromètre laser pour la mesure ; ajuster avec des cales (0,005-0,05 mm) pour corriger |
Serrage incorrect des boulons | Serrage excessif : déformation du rail, fatigue accélérée ; Serrage insuffisant : micro-mouvements, charges d'impact, rupture de la cage | Utiliser une clé dynamométrique calibrée ; suivre les spécifications du fabricant et la séquence de serrage en croix |
Contamination lors de l'installation | Usure abrasive, rayures sur le chemin de roulement, dégradation du lubrifiant | Nettoyer les surfaces avec de l'alcool industriel ; utiliser des chiffons non pelucheux ; éviter tout contact des mains nues avec le chemin de roulement |
Le principe fondamental : pourquoi la précision d'installation détermine la durée de vie du guide
Les fabricants de guides linéaires conçoivent leurs produits sur la base de la “condition de contact idéale” : la surface du chemin de roulement maintient une répartition uniforme de la charge, et les éléments roulants se déplacent sans glissement ni inclinaison. Dans cette condition, le guide fonctionne dans les limites de sa charge dynamique nominale (C) et de sa charge statique (C₀), atteignant la durée de vie projetée (L₁₀ = (C/P)³ × 10⁶ tours, selon les normes ISO).
Les erreurs d'installation perturbent cet état idéal en introduisant des contraintes inégales, des frottements anormaux et des micro-impacts. Ces problèmes ne se manifestent pas immédiatement ; ils s'accumulent plutôt au fil des cycles, accélérant la fatigue et l'usure des matériaux. Par exemple, une erreur de parallélisme de 0,1 mm peut augmenter la contrainte de contact locale de 30 %—réduisant de moitié ou plus la durée de vie du guide, selon les données des tests de terrain de notre équipe.
Erreurs d'installation courantes et leur impact sur la durée de vie du guide
Erreur de planéité de la surface de base
- Surcharge locale: Lors du serrage des boulons de montage du guide, la base inégale force le rail du guide à se déformer. Cela crée des “points de contrainte élevée” où les éléments roulants supportent une charge excessive—bien au-delà de la limite de conception. Avec le temps, ces points développent des fissures de fatigue de contact (visibles sous forme de petites piqûres sur le chemin de roulement), qui se propagent et provoquent le grippage du guide.
- Augmentation du frottement: Les rails déformés forcent les éléments roulants à glisser (plutôt qu'à rouler) contre le chemin de roulement, générant un frottement de glissement (jusqu'à 10 fois supérieur au frottement de roulement). Cela non seulement augmente la température de fonctionnement (accélérant la dégradation du lubrifiant), mais provoque également une usure adhésive (transfert de métal entre les éléments roulants et les chemins de roulement), une cause majeure de défaillance prématurée du guide.
Erreur de parallélisme entre deux rails (systèmes à double rail)
- Inclinaison du chariot: Le chariot (qui relie les deux rails) est forcé de s'incliner, ce qui fait que les éléments roulants entrent en contact avec les bords du chemin de roulement au lieu du centre. Cette charge en bordure concentre la contrainte sur les épaulements du rail, entraînant une usure rapide et même un écaillage du chemin de roulement.
- Couple sur les éléments roulants: L'inclinaison introduit un couple de rotation sur le chariot, provoquant une rotation inclinée des éléments roulants. Cela crée des éraflures (rayures longues et peu profondes sur le chemin de roulement) et augmente le risque de dommages à la cage (le composant qui sépare les éléments roulants). Une fois la cage cassée, les éléments roulants entrent en collision les uns avec les autres, détruisant le guide en quelques heures.
- Imprécision de mouvement incohérente: Même si le guide ne défaille pas immédiatement, les erreurs de parallélisme entraînent un mouvement “collant-glissant”, qui endommage la pièce (par exemple, une coupe inégale en usinage) et exerce une contrainte supplémentaire sur le guide au fil du temps.
Serrage incorrect des boulons (serrage excessif ou insuffisant)
- Serrage excessif: Un couple excessif (au-delà des spécifications du fabricant, par exemple, 12 N·m pour les boulons M6) provoque la compression et la déformation du rail le long de l'axe du boulon. Cela crée une distorsion “ondulatoire” dans le chemin de roulement, où les éléments roulants rencontrent des zones de contrainte élevée périodiques. Nos tests montrent qu'un serrage excessif de 20 % réduit la durée de vie du guide de 40 % en raison d'une fatigue accélérée.
- Serrage insuffisant: Des boulons desserrés permettent au rail de se déplacer légèrement pendant le fonctionnement. Ce micro-mouvement entre le rail et la base génère des charges d'impact (en particulier lors d'accélérations/décélérations rapides), qui fissurent le chemin de roulement et desserrent les cages des éléments roulants. Dans un cas, le guide d'un système de convoyeur a défailli après 3 mois parce que les boulons n'étaient serrés qu'à 50 % du couple recommandé—entraînant un déplacement du rail et une rupture de la cage.
Contamination lors de l'installation
- Usure par abrasion: Les particules de poussière ou les copeaux métalliques piégés entre les éléments roulants et la piste agissent comme des abrasifs, rayant la surface de la piste. Ces rayures s'approfondissent à chaque cycle, réduisant la capacité portante du guide et créant des concentrations de contraintes qui conduisent à des fissures.
- Dégradation du lubrifiant: Les contaminants se mélangent au lubrifiant initial (appliqué lors de l'installation), le transformant en une “pâte abrasive” qui accélère l'usure. Même une petite quantité de copeaux métalliques peut réduire l'efficacité du lubrifiant de 60 % en un mois.
Comment atténuer les erreurs d'installation et prolonger la durée de vie du guide
- Inspection pré-installation:
- Vérifiez la planéité de la surface de base avec une règle et un jeu de cales (ou un rugosimètre pour les applications de haute précision). Si l'erreur dépasse les spécifications, rectifiez ou fraisez la base pour la corriger.
- Vérifiez l'état du rail de guidage : inspectez les rayures, les bosses ou la rouille (fréquents pendant le stockage). S'il est endommagé, remplacez immédiatement le rail (même de petites bosses provoquent des concentrations de contraintes).
- Alignement de précision:
- Pour les systèmes à rail unique : Utilisez un comparateur pour aligner le rail avec l'axe de mouvement (tolérance de battement ≤ 0,01 mm/m).
- Pour les systèmes à double rail : Utilisez un interféromètre laser pour mesurer le parallélisme, le tangage et le lacet. Ajustez les cales (feuilles métalliques fines) sous le rail pour corriger les erreurs (l'épaisseur des cales doit être de 0,005 à 0,05 mm pour le réglage fin).
- Serrage contrôlé des boulons:
- Suivez scrupuleusement les spécifications de couple du fabricant. exactement. Utilisez une clé dynamométrique avec certificat d'étalonnage (étalonnez tous les 6 mois pour garantir la précision).
- Serrez les boulons en suivant un motif croisé (par exemple, pour un rail à 4 boulons : 1 → 3 → 2 → 4) pour répartir la pression uniformément. Attendez 10 minutes après le premier serrage, puis resserrez pour éliminer le “tassement” du rail.
- Tests post-installation:
- Déplacez manuellement le chariot le long du rail : il doit se déplacer sans résistance ni bruit de cliquetis (un cliquetis indique une charge sur les bords ou un dommage de la cage).
- Utilisez un comparateur pour mesurer le battement du chariot (battement vertical et horizontal ≤ 0,005 mm pour les guides de précision).
- Appliquez le lubrifiant approprié (graisse pour les applications à basse vitesse, huile pour les applications à haute vitesse) et essuyez l'excédent (trop de lubrifiant piège les contaminants).