-
01/21/2026
- 0 Comentario
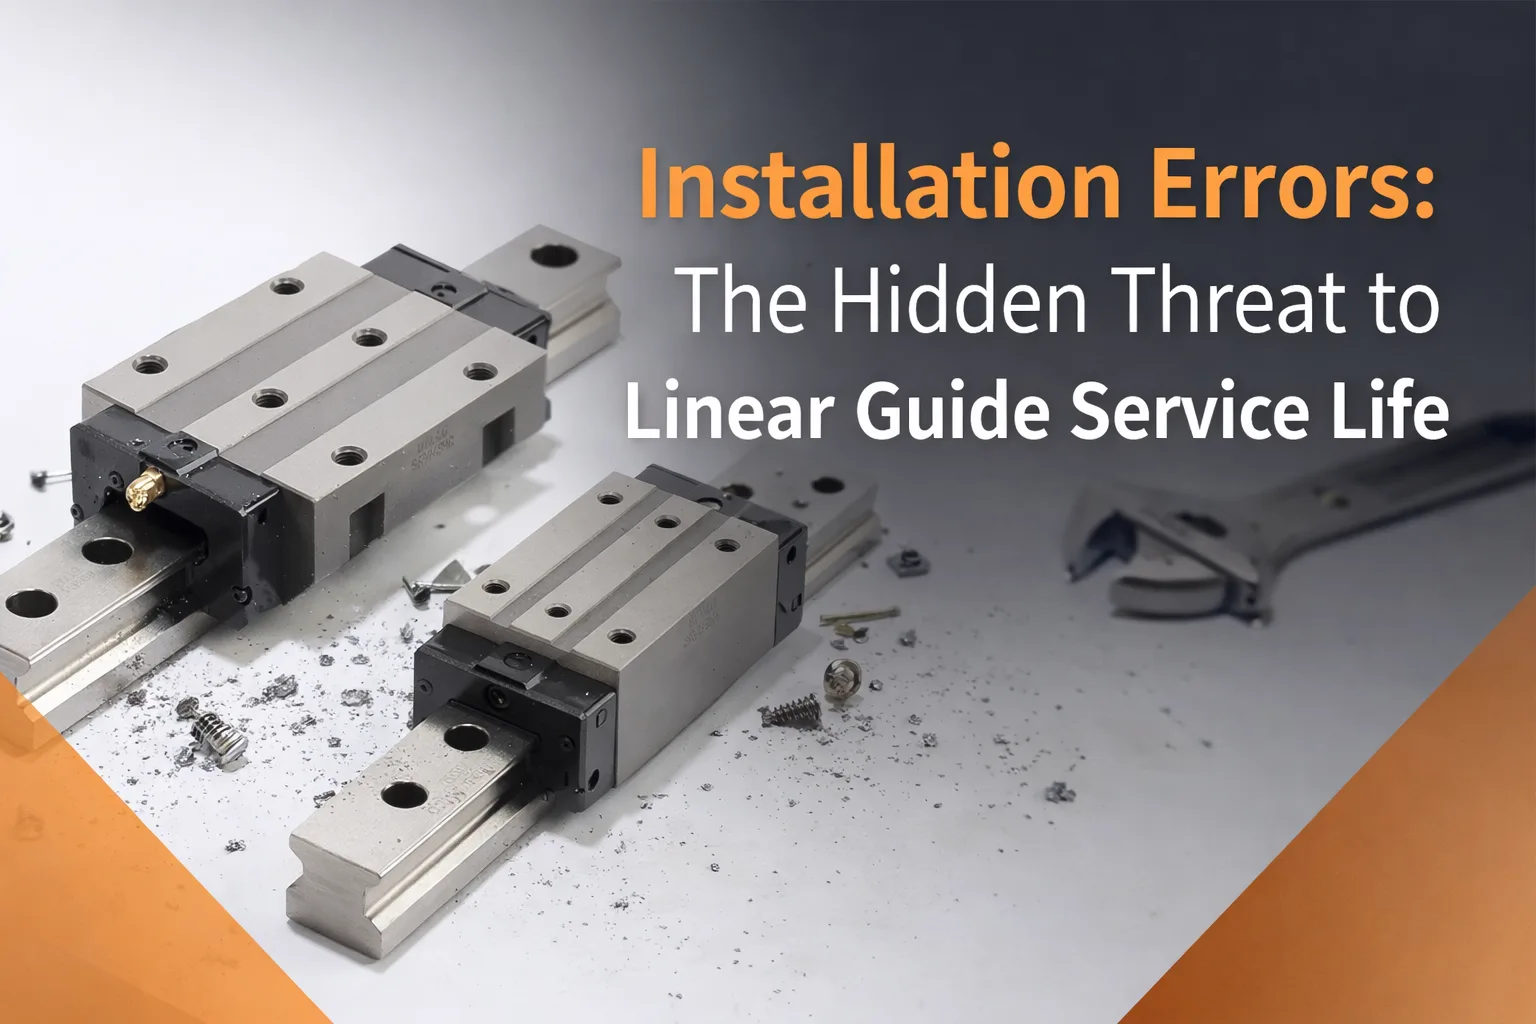
Errores de Instalación: La Amenaza Oculta para la Vida Útil de las Guías Lineales
Tabla de Contenidos
Como ingeniero mecánico de ensamblaje profesional, he presenciado innumerables casos en los que guías lineales—componentes críticos que garantizan la precisión del movimiento en equipos industriales—fallan prematuramente no por mala calidad del producto, sino por una instalación inadecuada. Las guías y rodamientos lineales dependen de un contacto ultrapreciso entre los elementos rodantes (bolas o rodillos) y las pistas de rodadura para proporcionar baja fricción, alta rigidez y una larga vida útil. Incluso errores de instalación a nivel de micras pueden alterar este equilibrio, desencadenando una reacción en cadena de tensión mecánica, desgaste y, finalmente, una falla catastrófica. A continuación, desglosaré cómo los errores comunes de instalación degradan la vida útil de la guía, respaldado por principios de ingeniería y experiencia en campo.
Tipo de Error de Instalación | Impactos Clave en la Vida Útil de la Guía Lineal | Métodos de Mitigación |
|---|---|---|
Error de Planitud de la Superficie Base | Sobrecarga localizada, grietas por fatiga de contacto, aumento de la fricción por deslizamiento, desgaste adhesivo | Verificar la planitud con una regla de precisión/calibre de espesores; rectificar/fresar la base para corregir errores si es necesario |
Error de Paralelismo (Doble Riel) | Desviación del carro, carga en los bordes, rozamiento, daño en la jaula, precisión de movimiento inconsistente | Usar un interferómetro láser para la medición; ajustar con calzas (0.005-0.05mm) para corregir |
Apriete Incorrecto de Pernos | Sobrealineación: deformación del riel, fatiga acelerada; Subalineación: micromovimiento, cargas de impacto, rotura de la jaula | Usar una llave dinamométrica calibrada; seguir las especificaciones del fabricante y la secuencia de apriete cruzado |
Contaminación Durante la Instalación | Desgaste abrasivo, rayones en la pista de rodadura, degradación del lubricante | Limpiar las superficies con alcohol industrial; usar paños que no suelten pelusa; evitar el contacto directo de las manos con la pista de rodadura |
El Principio Fundamental: Por Qué la Precisión de Instalación Determina la Vida Útil de la Guía
Los fabricantes de guías lineales diseñan sus productos basándose en la “condición de contacto ideal”: la superficie de la pista de rodadura mantiene una distribución uniforme de la carga, y los elementos rodantes se mueven sin deslizamiento ni desviación. Bajo esta condición, la guía opera dentro de su carga dinámica nominal (C) y carga estática (C₀), alcanzando la vida útil proyectada (L₁₀ = (C/P)³ × 10⁶ revoluciones, según normas ISO).
Los errores de instalación alteran este estado ideal al introducir tensión desigual, fricción anormal y microimpactos. Estos problemas no se manifiestan de inmediato; en cambio, se acumulan a lo largo de los ciclos, acelerando la fatiga y el desgaste del material. Por ejemplo, un error de paralelismo de 0.1mm puede aumentar la tensión de contacto local en un 30%—reduciendo la vida útil de la guía a la mitad o más, según los datos de pruebas de campo de nuestro equipo.
Errores Comunes de Instalación y Su Impacto en la Vida Útil de la Guía
Error de Planitud de la Superficie Base
- Sobrecarga Localizada: Al apretar los pernos de montaje de la guía, la base irregular fuerza la deformación del riel de la guía. Esto crea “puntos de alta tensión” donde los elementos rodantes soportan una carga excesiva—muy por encima del límite de diseño. Con el tiempo, estos puntos desarrollan grietas por fatiga de contacto (visibles como pequeñas picaduras en la pista de rodadura), que se extienden y causan que la guía se agarrote.
- Aumento de la Fricción: Los rieles deformados obligan a los elementos rodantes a deslizarse (en lugar de rodar) contra la pista de rodadura, generando fricción por deslizamiento (hasta 10 veces mayor que la fricción por rodadura). Esto no solo eleva la temperatura de operación (acelerando la degradación del lubricante), sino que también causa desgaste adhesivo (transferencia de metal entre los elementos rodantes y las pistas de rodadura), una causa principal de falla prematura de la guía.
Error de Paralelismo Entre Dos Rieles (Sistemas de Doble Riel)
- Desviación del Carro: El carro (que conecta los dos rieles) se ve forzado a inclinarse, haciendo que los elementos rodantes contacten los bordes de la pista de rodadura en lugar del centro. Esta carga en los bordes concentra la tensión en los hombros del riel, lo que lleva a un desgaste rápido e incluso al astillamiento de la pista de rodadura.
- Par de Torsión en los Elementos Rodantes: La desviación introduce un par de torsión rotacional en el carro, causando que los elementos rodantes giren en ángulo. Esto crea rozamiento (rayones largos y superficiales en la pista de rodadura) y aumenta el riesgo de daño en la jaula (el componente que separa los elementos rodantes). Una vez que la jaula se rompe, los elementos rodantes chocan entre sí, destruyendo la guía en cuestión de horas.
- Precisión de Movimiento Inconsistente: Incluso si la guía no falla de inmediato, los errores de paralelismo conducen a un movimiento de “stick-slip” (adherencia-deslizamiento), que daña la pieza de trabajo (por ejemplo, corte desigual en el mecanizado) y ejerce tensión adicional sobre la guía con el tiempo.
Apriete Incorrecto de Pernos (Sobrealineación o Subalineación)
- Sobrealineación: Un par de torsión excesivo (más allá de la especificación del fabricante, por ejemplo, 12 N·m para pernos M6) hace que el riel se comprima y deforme a lo largo del eje del perno. Esto crea una distorsión “similar a una onda” en la pista de rodadura, donde los elementos rodantes encuentran zonas periódicas de alta tensión. Nuestras pruebas muestran que un sobreapriete del 20% reduce la vida útil de la guía en un 40% debido a la fatiga acelerada.
- Subalineación: Los pernos flojos permiten que el riel se desplace ligeramente durante la operación. Este micromovimiento entre el riel y la base genera cargas de impacto (especialmente durante la aceleración/desaceleración rápida), que agrietan la pista de rodadura y aflojan las jaulas de los elementos rodantes. En un caso, la guía de un sistema transportador falló después de 3 meses porque los pernos se apretaron solo al 50% del par recomendado—resultando en desplazamiento del riel y rotura de la jaula.
Contaminación Durante la Instalación
- Desgaste Abrasivo: Las partículas de polvo o las virutas metálicas atrapadas entre los elementos rodantes y la pista de rodadura actúan como abrasivos, rayando la superficie de la pista. Estos arañazos se profundizan con cada ciclo, reduciendo la capacidad de carga de la guía y creando concentraciones de tensión que conducen a grietas.
- Degradación del Lubricante: Los contaminantes se mezclan con el lubricante inicial (aplicado durante la instalación), convirtiéndolo en una “pasta abrasiva” que acelera el desgaste. Incluso una pequeña cantidad de virutas metálicas puede reducir la efectividad del lubricante en un 60% en un mes.
Cómo Mitigar Errores de Instalación y Extender la Vida Útil de la Guía
- Inspección Previa a la Instalación:
- Verifique la planitud de la superficie base con una regla y un calibre de espesores (o un probador de rugosidad superficial para aplicaciones de alta precisión). Si el error excede las especificaciones, rectifique o frese la base para corregirlo.
- Verifique el estado del riel guía: inspeccione si hay arañazos, abolladuras u óxido (comunes en el almacenamiento). Si está dañado, reemplace el riel inmediatamente (incluso las pequeñas abolladuras causan concentraciones de tensión).
- Alineación de Precisión:
- Para sistemas de riel único: Utilice un comparador de cuadrante para alinear el riel con el eje de movimiento (tolerancia de oscilación ≤ 0,01 mm/m).
- Para sistemas de doble riel: Utilice un interferómetro láser para medir el paralelismo, el cabeceo y la guiñada. Ajuste las calas (láminas metálicas delgadas) bajo el riel para corregir los errores (el grosor de la cala debe ser de 0,005-0,05 mm para ajustes finos).
- Apriete Controlado de Tornillos:
- Siga exactamente las especificaciones de par de apriete del fabricante. exactamente. Utilice una llave dinamométrica con certificado de calibración (calibre cada 6 meses para garantizar precisión).
- Apriete los tornillos en un patrón cruzado (por ejemplo, para un riel de 4 tornillos: 1 → 3 → 2 → 4) para distribuir la presión uniformemente. Espere 10 minutos después del apriete inicial y luego vuelva a apretar para eliminar el “asentamiento” del riel.
- Pruebas Posteriores a la Instalación:
- Mueva manualmente el carro a lo largo del riel: debe moverse suavemente sin resistencia ni chasquidos (los chasquidos indican carga en el borde o daño en la jaula).
- Utilice un comparador de cuadrante para medir la oscilación del carro (oscilación vertical y horizontal ≤ 0,005 mm para guías de precisión).
- Aplique el lubricante correcto (grasa para aplicaciones de baja velocidad, aceite para aplicaciones de alta velocidad) y limpie el exceso (demasiado lubricante atrapa contaminantes).